I actually bought the Korean hot pepper sauce (it's usually the one in the red rectangular box) without knowing what I want to do with it, but I know it will come in handy. When my friend mentioned she makes it sometimes with her husband and Anne's food blog mentioned about it, I decided to give it a try.
As usual, I googled around for a reliable-looking recipe, which to me has a few criterias:
- pictures, preferably taken in stages
- proven recipes (having quite a few backlinks)
- I have all the ingredients! (Most important!)
So this one was what I found: http://rasamalaysia.com/bibimbap-recipe/ and I've followed it word for word since it was the first time I was making it but here's some pictures of the steps I took, with my modified instructions for making it where applicable.
Ingredients - serves 2
The ToppingsUse 1/2 small dish bowl of each vegetable toppings for the rice.
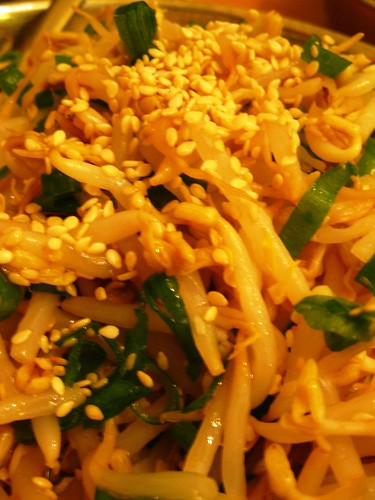
Seasoned Bean Sprouts
About 1 can of beansprouts (drained)
1/2 teaspoon salt
1 tablespoon spring onion, julienne
1/2 teaspoon toasted sesame seeds
1 tablespoon dark sesame oil
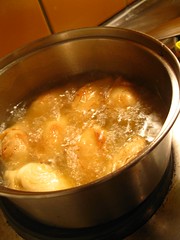
If you are using fresh beansprouts, soak the sprouts in boiling water. If you like it with a bit more crunch, drain it after a minute or so.If you are using a canned version (it's cheaper in the canned version in Sweden), refresh it with some hot water too but only for about 30 seconds. Drain and transfer to a bowl to mix with the salt, spring onions, sesame oil and sesame seeds. Set aside.
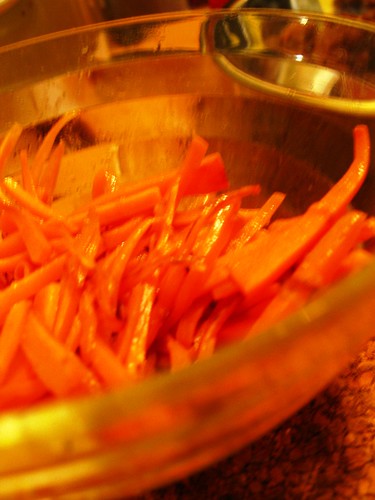
Seasoned Carrot Salad
1/2 a large carrot or one normal size one, peeled and cut into 2-inch matchstick strips
1/2 teaspoon salt
1 tablespoon sesame oil
Heat the sesame oil in a pan on medium heat, add in the carrots and season with salt. Stir fry it for about 2 minutes. Set aside to cool when done.
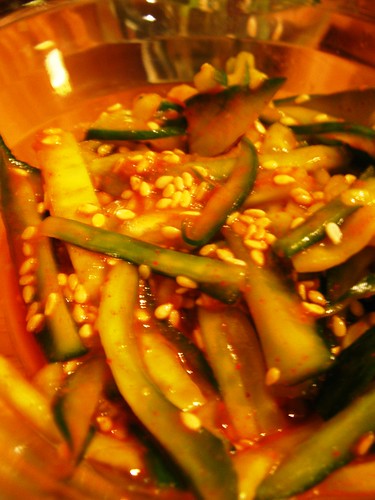
Spicy Cucumber Salad
1/2 cucumber, julienne to about same thickness as carrots
1/2 teaspoon salt
1 tablespoon Tangy Red Pepper Dressing
1/2 tablespoon toasted sesame seeds
In a mixing bowl, toss the cucumbers and salt. Set aside for 5 minutes. Gently squeeze the liquid from the cucumbers. Transfer to a serving bowl and combine it with the dressing and sesame seeds. Set aside.
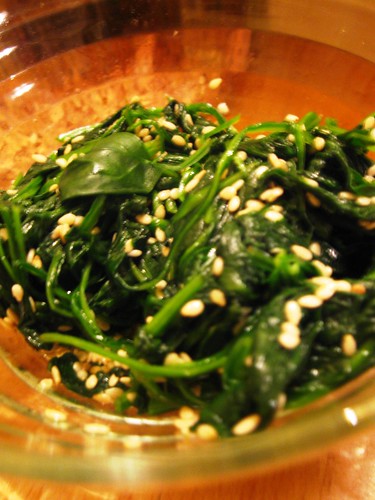
Seasoned Spinach Salad
2
50 g baby spinach, rinsed and blanched in boiling water for about 2 minutes
1 tablespoon toasted sesame seeds
1 tablespoon sesame oil
1/2 teaspoon salt
Drain the spinach into a colander and rinse with cold water. Squeeze the water from the spinach and transfer to a bowl, add the seasoning and mix well. Set aside to cool.
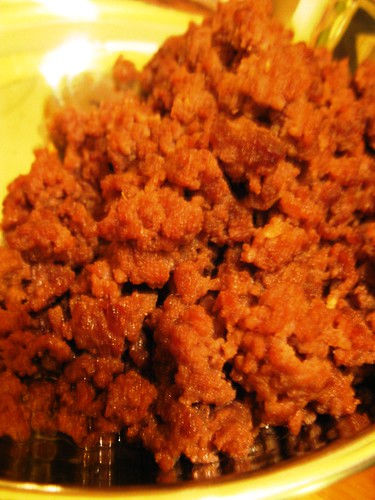
Seasoned Beef
200g minced beef
1 teaspoon soy sauce
1/4 teaspoon sesame oil
1/2 teaspoon brown sugar
Marinate the beef with the seasoning for about 15 minutes. Stir fry till cook for about 2 minutes and set aside.
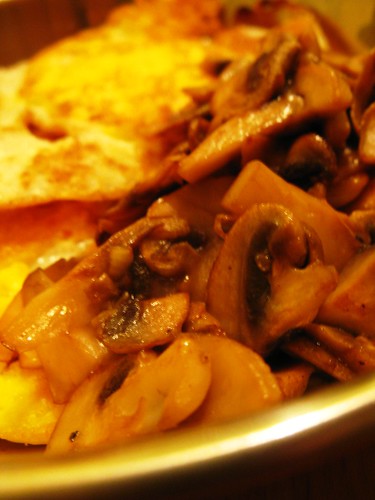
Stir-fry button mushrooms (optional, this was my own addition)
About 4-5 fresh button mushrooms, sliced thinly.
Stir fry in a pan with a little oil until it softens. Season with salt and black pepper, set aside.
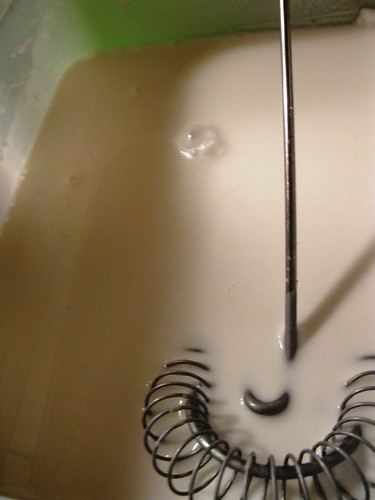
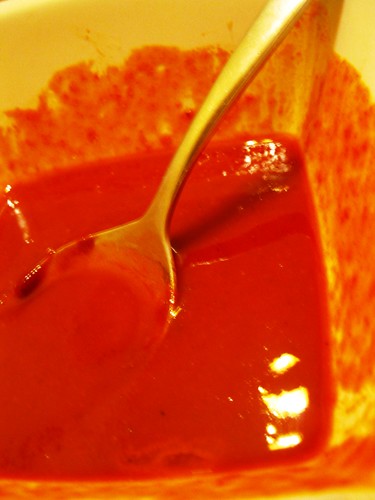
Tangy Red Pepper Dressing
2 tablespoons Korean red pepper paste (available at Korean grocery)
1 tablespoon rice vinegar
1 teaspoon honey
1 tablespoon apple juice or water
2 teaspoons sesame oil
Whisk the ingredients together and set aside. You can make more of this if you like, the above portion was actually meant for 4 servings, but I used it to make two servings, including using it in the spicy cucumber toppings.
To Assemble
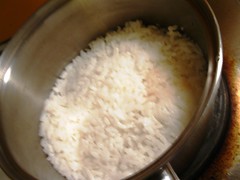
1 cup cooked white rice
1 tablespoons sesame oil plus extra for drizzling
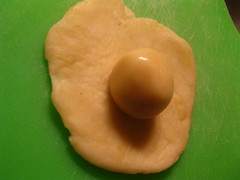
1 fried egg, sunny-side up
3 tablespoons Tangy Red Pepper Dressing
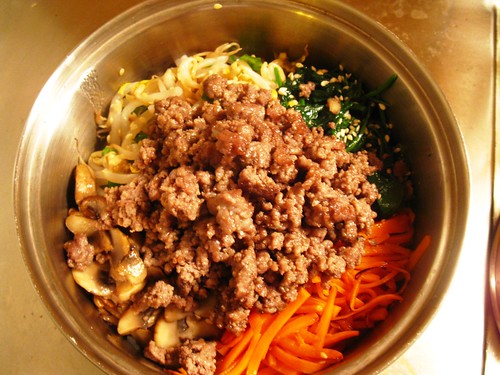
1. Have the seasoned toppings, beef and fried egg prepared in individual bowls.
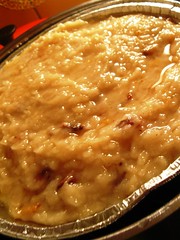
2. Place a cast iron skillet or a small pot on medium heat and add 2 tablespoons of the sesame oil. Heat the oil for 1 minute. Add the rice and spread it around the bottom of the pot to form an even layer. Cook the rice for several minutes or until the rice begins to brown on the bottom. You will hear the rice sizzle.
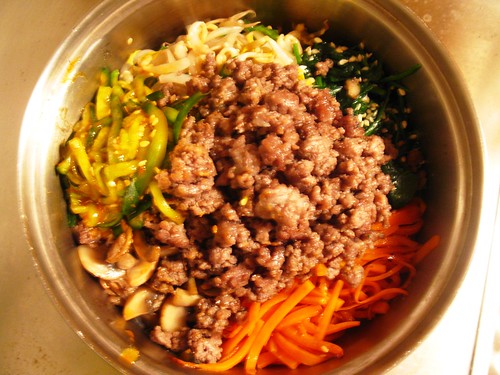
3. Carefully arrange each of the seasoned salads on top of the rice grouping each one like the spoke of a wheel. Place the beef in the center. Continue heating for 2 minutes.
4. Transfer the pot to a heatproof pad.
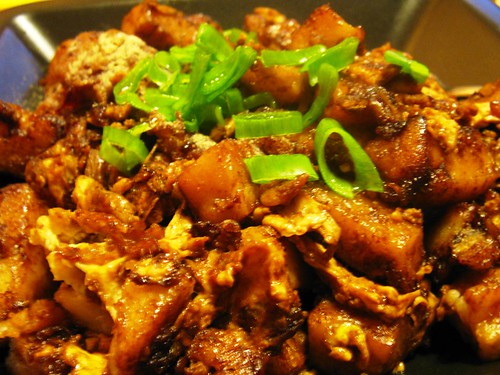
5. Before serving, mix together the egg, toppings, rice and 2 tablespoons of the Tangy Red Pepper Sauce. Make sure to scrape the bottom of the pot to distribute that crunchy crust throughout the dish.
6. Serve in individual bowls topped with one fried egg per person with a drizzle of sesame oil and add extra Tangy Red Pepper Dressing as you like it. I added a lot more haha ;)